Following the preview pics from last week, I tried to remember to take pictures of the step to paint the marble and I did yeay!
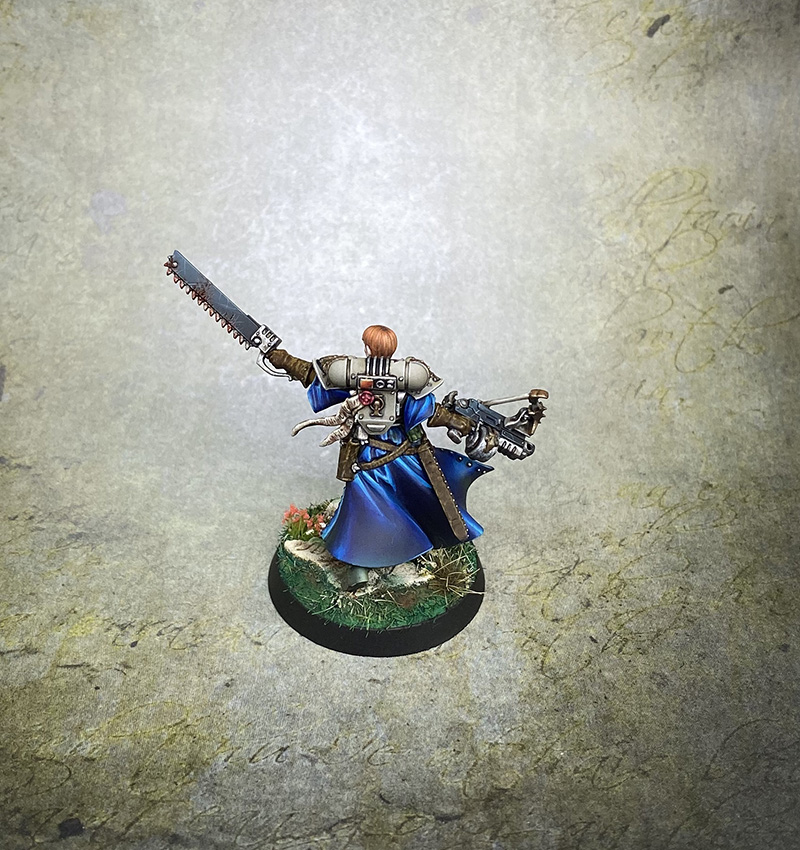
As a quick reminder, here is the back of my tank
Suite à l'article de la semaine passée et suite aux nombreuses demandes sur le marbre, voici enfin un nouveau tuto pour reproduire cette effet!
Pour rappel, voici le dos de l'exorcist.

Keep in mind there is nothing revolutionary here and there are many tutorials online, but this is just my interpretation of the process after failing the baby wipes method to be honest (which left me with tiny hairs all over the surface...).
I'm still a beginner with the airbrush and my mastery over this tool is fluctuant at best.
Encore une fois, il n'y a rien de révolutionnaire ici étant donner que de nombreux tutoriaux existent sur le net, mais c'est juste ma propre interprétation du processus après un échec avec les lingettes bébés et l'aero qui m'a laissé des petits poils partout sur la surface.
Je ne suis toujours pas au point avec l’aérographe et je ne l'utilise probablement pas suffisamment pour vraiment le maîtriser.
Here a process you can easily recreate with only a brush, and you don't need many colours; as always feel free to experiment with other colours, this is just one example that work with my scheme.
Voici donc un procédé facilement réalisable entièrement au pinceau, les copains sans aero apprécieront ! Comme toujours c'est juste un exemple et un choix de couleurs adaptés à mon schéma, n'hésité pas à expérimenter avec d'autres couleurs!
Without further ado, let's start!
Paint used for this example:
Les peintures utilisées:
Les peintures utilisées:

- Scale artist Pearl grey
- Scale artist White
- Daler & Rowney FW Dark green ink
- FW Black ink

1. Give it a smooth coat of Pearl grey, it usually required 2 to 3 coats
Je commence par une couche de base de pearl grey en 2-3 passages dilués pour avoir une surface lisse

2. Roughly highlight the upper edge following a zenithal light with a mix of pearl grey and white
J'éclairci rapidement les arêtes supérieurs avec un mélange de peal grey et de blanc, histoire de marquer les volumes.
J'éclairci rapidement les arêtes supérieurs avec un mélange de peal grey et de blanc, histoire de marquer les volumes.

3. Time to make the veins, with a mix of 3:1 dark green ink to black, I draw random line over the surface changing the pressure on the tip of the brush.
You can use google to give you a reference of marble veins if you need it.
Don't paint straight line but try to do many curves and edges almost like a little lightning.
We use the transparency of the ink to give depth to the veins, if you want to have darker vein, you can use pure black, lighter use pure green ink, you can also pass twice on vein to make them darker.
For small piece, I usually use just my mix green and black mix, but for example on the big marble piece on the back of the exorcist I used also black and green to have more variation since it is more visible.
C'est le moment de tracer les veines du marbre, avec un mélange de 3:1 de dark green ink et d'encre noire respectivement, je trace des lignes plus ou moins appuyé sur la surface de façon aléatoire.
Ce n'est pas une mauvaise idée d'avoir des images de référence google à coté de soit afin d'aider à réaliser ces veines.
Ne peignez pas des lignes droites mais essayer de faire des petites vagues et angles un peu comme un éclair.
J'utilise la transparence de l'encre afin d'avoir plus de variations et de profondeurs dans le dessin du marbre, si vous souhaitez des veines plus sombres, n'hésitez pas à utiliser de l'encre noire pure ou la verte pour des veines plus claires, vous pouvez aussi repasser vos lignes pour les assombrir.
Pour les petites pièces, je n'utilise qu'un seul mélange mais typiquement pour le dos de l'exorcist, j'ai utiliser du noir et du vert pour créer plus de variations et d'intérêts à la surface.
4. Optional: Depending on the size of your piece or the effect you want, you can glaze you surface with pearl grey (brush or airbrush if it's a big piece), this will blend the veins with the basecoat then just repeat step 3 and you'll have different depth of veins on surface. I did this on the back of the exorcist because the surface is so big, I wanted to give it more interest, but I haven't done it on the small statue as I find it make it quickly "unreadable".
Optionnel: Dépendant de la taille de la pièce concernée ou de l'effet recherché, je fais un glacis de pearl grey (au pinceau ou aero à choix) afin de fondre les veines avec la couche de base et je répète l'étape n°3 afin de donner plus de profondeurs et d'intérêts à ma surface, ceci va créer des veines avec différents niveaux de lecture et donnera l'impression d'avoir une réelle épaisseur. C'est ce que j'ai fais sur le dos de l'exorcist, mais je ne le fais pas pour les petites statuettes par exemple. Faites attention à ne pas trop en faire, sinon la surface deviens illisible.

5. It's time to give definition, using the black and green ink mix, I shade the recess and underline all the edges. I also dilute this mix to max a small glaze at the bottom and wherever I judge necessary to have more define volume.
Je viens définir mon volume avec mon mélange d'encre noire et verte, je marque les creux et souligne les arêtes pour faire ressortir les différents éléments. Je donne un petit jus dilué dans ce mélange sur le bas de la figurine et dans certains creux très prononcés pour donner l'illusion d'un éclairage zénithal.

6. With the mix from step 2 of pearl grey and white diluted, I make a quick edge highlight on the upper edges. Just pick the edge which would receive more light, you don't want to highlight everything.
Avec mon mélange de pearl grey et blanc, je reviens marquer les arêtes supérieurs qui sont les plus exposé sans éclaircir toutes les arêtes toujours dans le but de donner une meilleure lecture du volume.
7. Final step with no picture since I haven't done it yet, is to give a nice coat of gloss varnish and you're done!
L'étape finale (sans image vu que je ne l'ai pas encore fait) est une bonne couche de vernis brillant pour donner le coté brillant si caractéristique du marbre.
I hope you enjoyed this tutorial and I'll see you on the next one.
J'espère que ce tuto vous a plu et je vous dis à la prochaine!
Until next time!
Anamnesis